Showing posts with label DIY. Show all posts

02/10/2016

DIY CHALKBOARDS


DIY  CHALKBOARDS

Today I decided to make chalkboards. One for myself, and the other one to use on display at a hairdressing salon.
I bought 2 lovely frames at a second hand shop.


I wanted to make the first one in some girly colour so I mixed two paints red and blue.

But to be honest I wasn`t happy with the final effect because it was too dark (now I am thinking that maybe I should have used a bit of white )


At the end I decided to use a ready colour, and I was more than happy with the final colour.
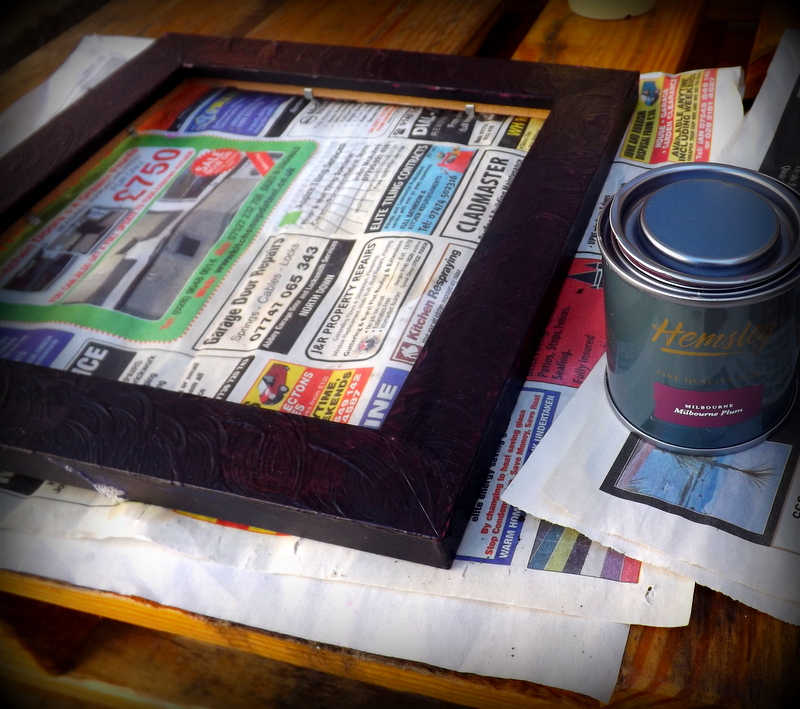


To give it a final touch I used clear spray paint.


The next frame was easier because I decided to just use white spray


when the frames were drying I had to paint the boards with charcoal paint.
The next step , put it together .....and voila :)


At first I tried to write on my chalkboards with ordinary chalks but I wasn`t happy with the effect, even when I made them wet I couldn`t write small letters. Then a friend of mine told me about chalkboard pens. I bought one  6mm chalk marker pen on e-bay from HaberCrafts and the result was amazing as you can see on the photos :)


I hope that you liked my post :)

P.S.

When I was working outside I had a very curious visitor

24/10/2013

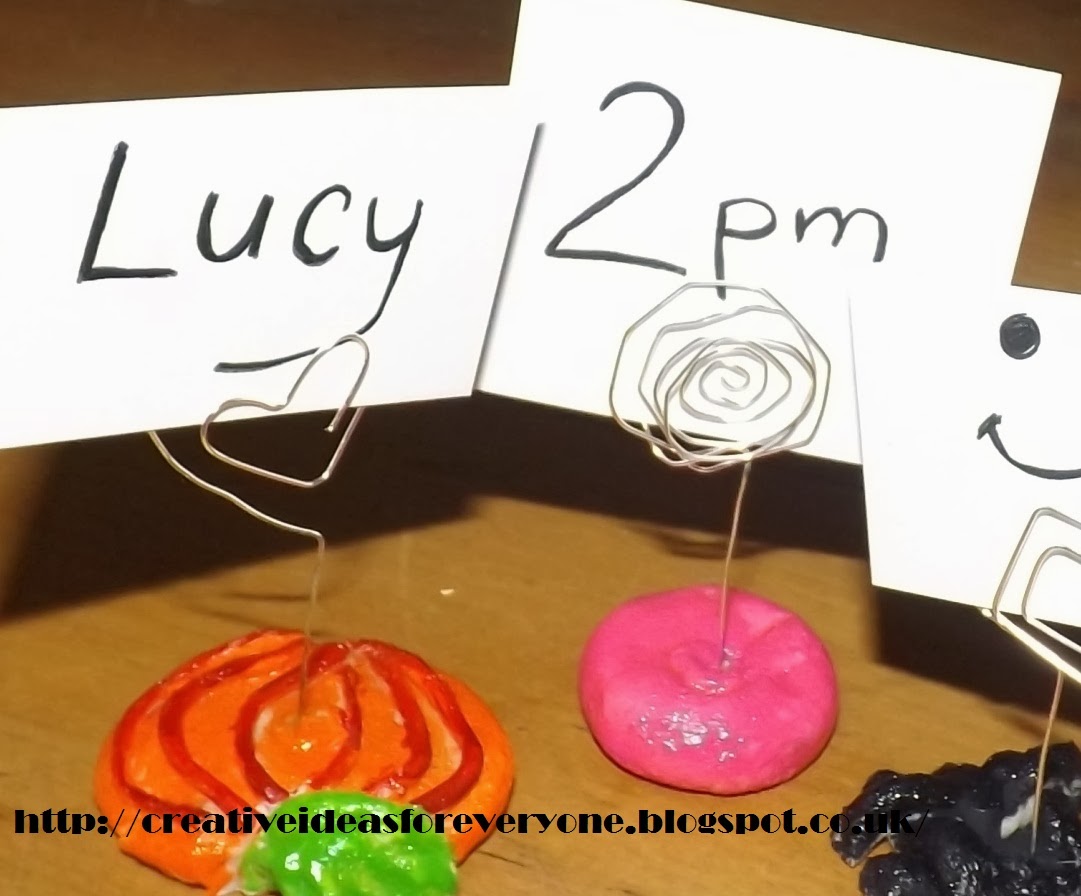
Message Holder


I have started my Message Holder by doing shapes by bending the wire.


When the wire is ready there is time for the bottom of the holder to be made.

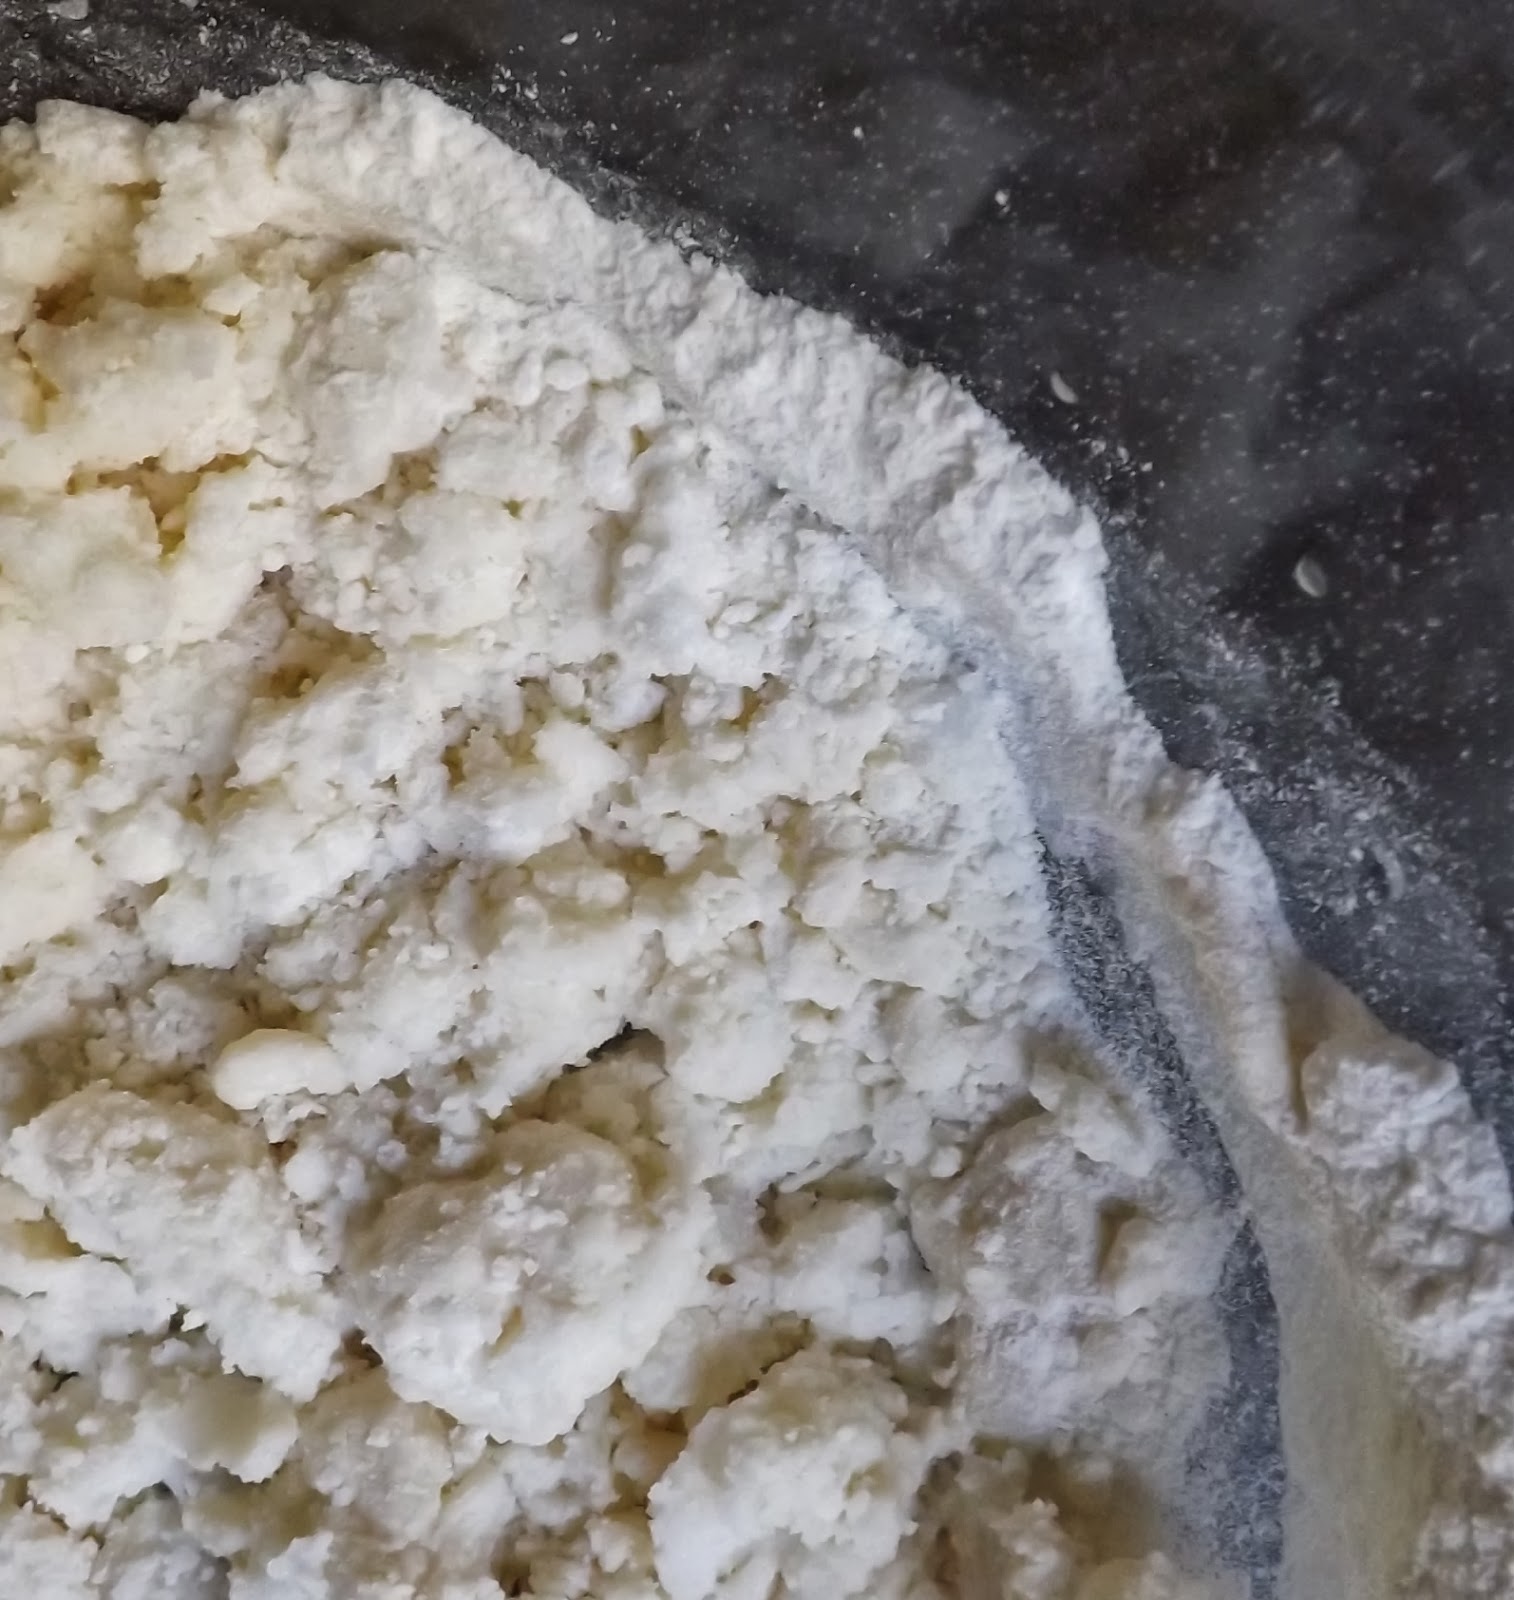
To do that I need a salt dough

Salt dough:
1 glass of plain flour
1 glass of salt
125 ml of water

Mix the ingredients together using your hands.


When the dough is ready just create a shape that you like.
Stick the wire on the top of formed dough. 

You can paint it before drying or after (I did it when the dough was dry and very hard)

Ways of drying the dough
1. To dry the dough you can put it into the oven (I do this at 75°C) for 20 – 30 minutes – everything depend on the size of the figure – if the figure is hard and looks dry it is ready. If the temperature is too high it may cause cracking on the dough (quick way)
2. You can put the dough outside to let do the job to the Sun (takes a few days)
3. You can dry it by putting on the radiator (depend of temperature on your radiator – it may take a few days).
 When the paint dried I coated it with colorless nail polish. 


09/10/2013

First thing in a Morning ...... coffee :)


All around world are two groups of people – coffee lovers and coffee haters. I am in the first group :) .for me every day starts with cup of coffee. But coffee it is not just a drink.  Today I`ll tell you how to keep lovely  coffee smell for longer and  on my next post (herehow we can use the coffee to look gorgeous .


This is a simply idea to make a decoration with coffee beans and a tea light.
Just pour some coffee beans into a wine glass and on top of the coffee beans place a tea light.a Tea light while burning is getting warmer and all around the room you will smell a gorgeous and mild coffee scent.

I have used a wine glass but you can use some lovely jars which are available in supermarkets or on-line.


You can get this one at your nearest Sainsbury`s   store or on-line here 


You can get This square jar with a glass lid here 


You can buy this lovely jar with a bird on the top here from Divine Inspiration Interiors